Sunday, December 13, 2009

I Want a Hippopotamus for Christmas


I just had to let everyone know how much I absolutely LOVE the new song on my blog playlist. I heard it for the first time a couple of years ago. It is rarely played these days but it makes me so happy every time I hear it.
Here is some info on it from Wiki:
Peevey was a regional child star of the Oklahoma City area. When released nationally by Columbia Records, the song shot to the top of the charts and the city zoo acquired a baby hippo named Matilda. A popular legend holds that this 1953 hit had been recorded as a fund-raiser to bring the city zoo a hippo; but in a 2007 radio interview with Detroit-based WNIC radio station, Peevey clarified that the song was not originally recorded as a fundraiser. Instead, a local promoter picked up on the popularity of the song and Peevey's local roots, and launched a campaign to present her with an actual hippopotamus on Christmas. The campaign succeeded, and she was presented with an actual hippopotamus, which she donated to the city zoo. The hippopotamus lived for nearly 50 years. Gayla Peevey later recorded as Jamie Horton, scoring the Billboard Hot 100 charter "My Little Marine" in 1960.

Thursday, December 10, 2009

Pajamas for the Girls

For the most part, my Mama has always made the girls pajamas for me, or they had ones that their Mimi (hubby's mom) bought for them. This year, Hancock fabrics had their flannel fabric on sale for $1.99/ yard on Black Friday, and patterns were $1 so I decided to make some for the girls myself. I wanted Christmas fabric, but it wasn't included in the sale, so I went with these instead. I would have bought some Christmas PJs but with Abby's eczema, we have been trying to dress her in all cotton since it doesn't irritate her skin like polyester can sometimes. And, all cute PJs I have found in stores were polyester.

Aly loves hot chocolate especially with marshmallows and that's wintery enough for me. Abby loves Owls, but there wasn't any of that so I got her green with birds and we are going to call it 4 Calling Birds to make it Christmasey. We will probably let them open these on Christmas Eve.

Aly's Hot Chocolate with Marshmallows


Abby's 4 Calling Birds


I used
Simplicity pattern #2771. I liked the fact that it didn't have a traditional collar but more of a baseball jersey type neck/ closure.

Saturday, November 28, 2009

Paper Ornaments

I wanted a craft project to do with the girls on Wednesday while they were out of school And, I really didn't want to make another pony bead jewelry piece, or construction paper, crayon melting kid craft. I wanted a real grown up craft that we would acutally use and all enjoy. So, we came up with these paper ornaments to hang from the chandelier.

Supplies:
Scrapbook or wrapping paper
Scissors or Rotary Cutter (just faster)
Stapler
Ruler

I used my rotary cutter to cut the scrapbook paper into strips 1" wide. Then, I marked lines on the strips and let the girls use their scissors to cut them to the following lengths. 6", 7", 9", and 11".

Then, the girls gathered 2 strips each of the longest pieces and 1 strip 6" long. Stack them together with the shortest one in the middle, so that your stack is like this 11, 9, 7, 6, 7, 9, 11. Line up all the strips at one end and staple it together.

Then, gather them up so that the opposite ends all line up. The paper will just start to stick out on its own as you go. Abby needed a little bit of help to get the concept of how it was supposed to work, but once I showed her, she was able to do it on her own.

Just staple the other side once you have all the ends matched up and you are done. We tied strings through them so we could hang them from the chandelier in the dining room. I had been wanting to decorate it for Christmas but didn't want to use just plain garland. I thought these turned out really cute.

You can vary the lengths of the paper strips to make pretty much any size ornament you want. We used the scraps to make the smaller on in the center.

Saturday, November 21, 2009

Hairbow Holder


This is for my neice Phoebe for Christmas. She wears lots of little clippy hairbows in all colors. Hopefully this will help her mom keep track of them all. And it was super cheap too! $5.39 for 2 since I already had the fabric and ribbon! One for Phoebe and one for my girls.


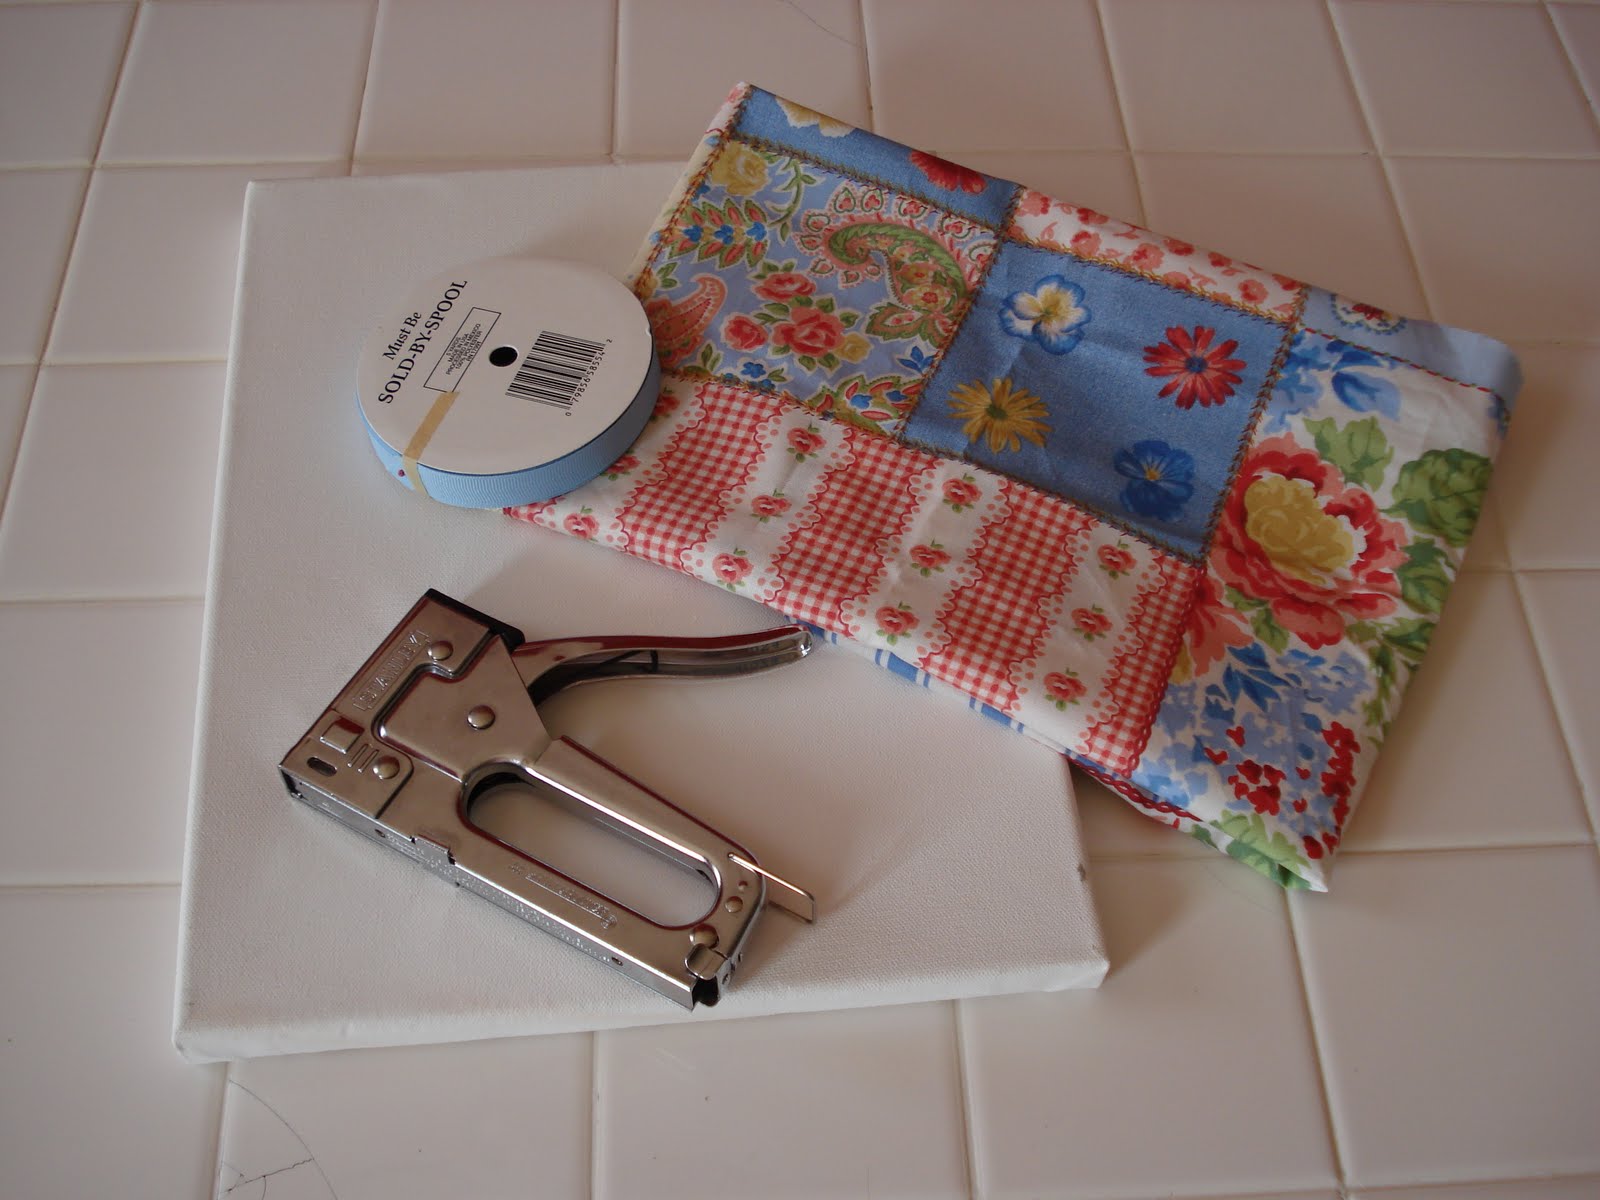
Here is what you will need:
Canvas - 11" x 14" from Hobby Lobby (2 pk $8.99 and I used a 40% off coupon)
Fabric - from my stash
Grossgrain Ribbon - from my stash
Staplegun

First, lay the canvas on your fabric and trim it so that you have plenty to wrap over the edges.
Time for the staplegun! I started with the long sides, then did the corners and finally stapled the middle of the short sides. Just make sure you stretch it tight all the way around.
Here is the front once it is all stapled.
Then, just cut your ribbon to the length needed, staple it to the back of the canvas. I am going to add a picture frame hook to the back and it will be completely done.


Thursday, November 19, 2009

Fabric Headband


Well, I made the adorable flower that you see on the headband to be pinned on Aly's brown shirt that goes with the Twirly Stripwork Skirt. But, she asked if I could make it into a hairbow instead b/c she didn't want it on her shirt. I had found a tutorial a while back for fabric headbands from The Long Thread's Make it Monday that I had been wanting to try. Here's the template.

The flower was very easy to make. All I did was fold a 3" x 10" piece of fabric in half lengthwise and hand stitch down the long side, gather it up and stitched the ends together.
I didn't have any black elastic, so I looped 2 ponytail rubberbands together instead. It worked perfectly.
One last picture of a pose Aly chose herself. All these goofy ones will come in handy for blackmail one day.

Saturday, November 14, 2009

Knitting

Mama, don't read this if you get it as an email. Close IMMEDIATELY! I changed my settings so hopefully you won't get it but just in case... GO AWAY!

Ok, hopefully she is gone now. I FINALLY finished the scarf I have been working on for what seems like forever. I honestly can't remember when or who I actually started making this for, but come Christmas, it will be Mama's.

I had Abby model it for me since Donna said I needed more pictures of her on here.

Then Cookie begged to be on my blog too since she felt left out, so I said OK.

I just kept this in the truck and would work on it whenever I had to sit and wait somewhere. Mostly at the school waiting to pick the girls up in the afternoons. Sometimes when we would go somewhere as a family and Jay would drive. I had to find something to keep me occupied so his driving wouldn't make me so nervous. He is a police officer, so I know he knows how to drive and has way more experience and training in how to drive than most normal people, but he is constantly in patrol car driving mode so it is best for me to just not look when he drives.

Wednesday, November 11, 2009

Twirly Stripwork Skirt


These are the measurements for making a size 6 skirt. You can easily adjust it by making the individual pieces slightly larger or smaller as needed.

I don't really know total yardage of fabric you will need b/c mine was all pulled from scraps except the purple. You just need 16 total pieces for the body of the skirt, you can use as many or as few different fabrics as you want.

For this version, you will need 4 coordinating fabrics cut to the following dimensions:

4 pieces of each of the 4 fabrics measuring 6" x 10"
1 piece fabric of choice for the bottom measuring 3" x 90"
1 piece fabric of choice for the drop waist measuring 7" x 30"

Everything was sewn using 1/4" seam allowances except the elastic casing for the waist.

Sew the 6" x 10" pieces together along the 10" sides to form the skirt body.


Piece your bottom hem pieces together to get a strip measuring 3" by 90". Then fold it in half top to bottom and press.

Sew this piece along the bottom of your skirt body and trim any extra off of the end.

To make gathering more easy, I simply sew a wide long zig zag stitch over a piece of cotton yarn. I had 1/2 skein of a Peaches and Cream type yarn left over from another project and I just use it over an over again for all of my gathering, but any thinner yarn will work just fine. Then, just start gathering the skirt piece on the string until it measures approximately 30", the same length as your drop waist piece. I don't actually gather it on the machine as I go, just a pic to show you how it is done.

Pin the gathered skirt to the bottom of the drop waist placing right sides together.

I don't worry about taking out the piece of yarn, I just sew right through it. I usually stitch the skirt to the drop waist piece twice. First with a straight stitch, then with a zig zag in the seam allowance to help cut down on some of the raveling later. I have a singer tiny serger, but it really isn't worth getting out to do this in my opinion.
Umm, this is where the pictures of the steps stop. Why you might ask? Well, because I got in a hurry. I had to finish the skirt in time to make a mad dash to Wal-Mart to find a matching shirt before I had to pick the girls up from school. I knew Aly would want to wear it to tomorrow and going to Wal-Mart with 2 girls is not something I usually find fun.

Ok, all that is really left to do is sew up the side seam and make the casing for your elastic. I am sure if you have made it this far, you can figure out how to do those 2 things without pictures. For the elastic measurement, I use a piece of elastic 1" shorter than the actual waist measurement. Aly's waist is 21" so I used a 20" piece of elastic and overlapped it by about 3/4" when I sewed the 2 ends together. I like to use either 3/4" or 1" elastic for waistbands, but it is really all personal prefrence.
Put it on your favorite 6 year old, send them to the yard, and snap some pics of her having fun twirling, dancing, and doing her best self chosen model poses. Aly requested that "I be able to wear this with jeans instead of leggings, but jeans without red on them, just plain ones please". Fine with me because I think wearing skirts with jeans shows her personality, which is cute, innocent, and funky all at the same time. Plus, they are warmer than leggings.